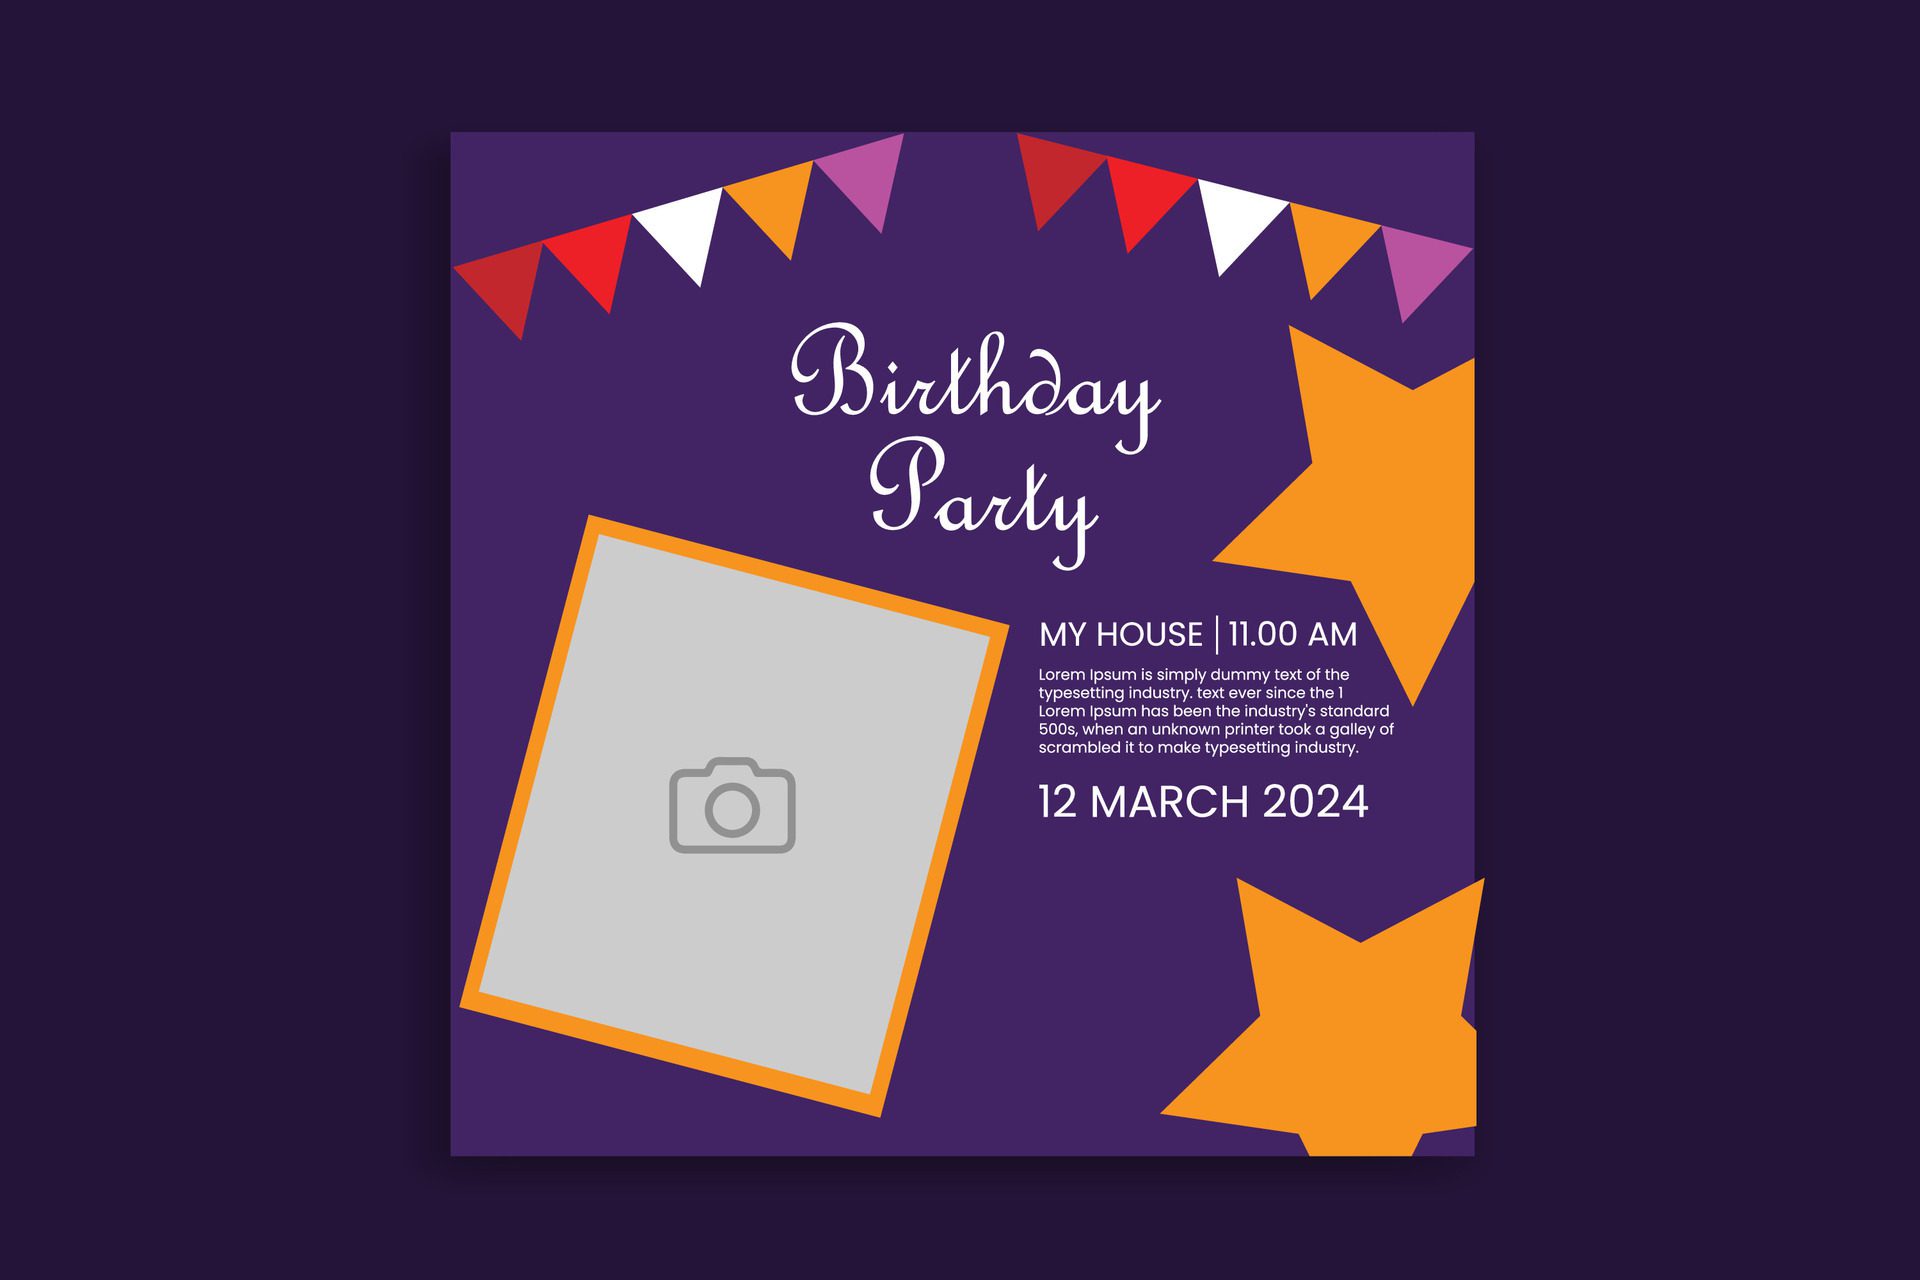
Birthday Banner Design Free Vector
Creating a birthday banner is an excellent way to celebrate a special day and make the celebrant feel extra special. A well-designed banner can add a touch of creativity and personalization to the celebration, making it memorable for years to come. One of the most cost-effective and versatile ways to design a birthday banner is by using free vector graphics. In this article, we will explore the benefits of using free vector graphics for your birthday banner design and provide some tips on how to create an eye-catching and unique banner.
Benefits of Using Free Vector Graphics:
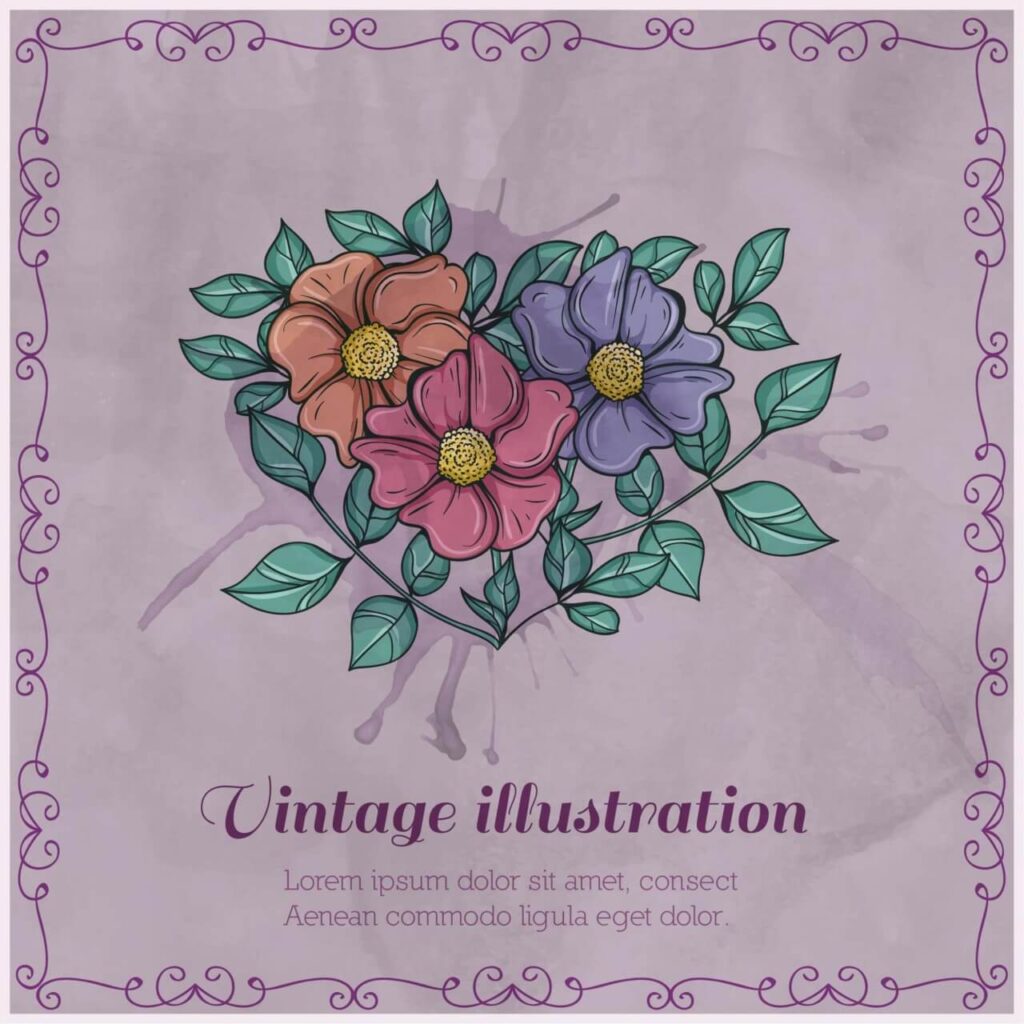
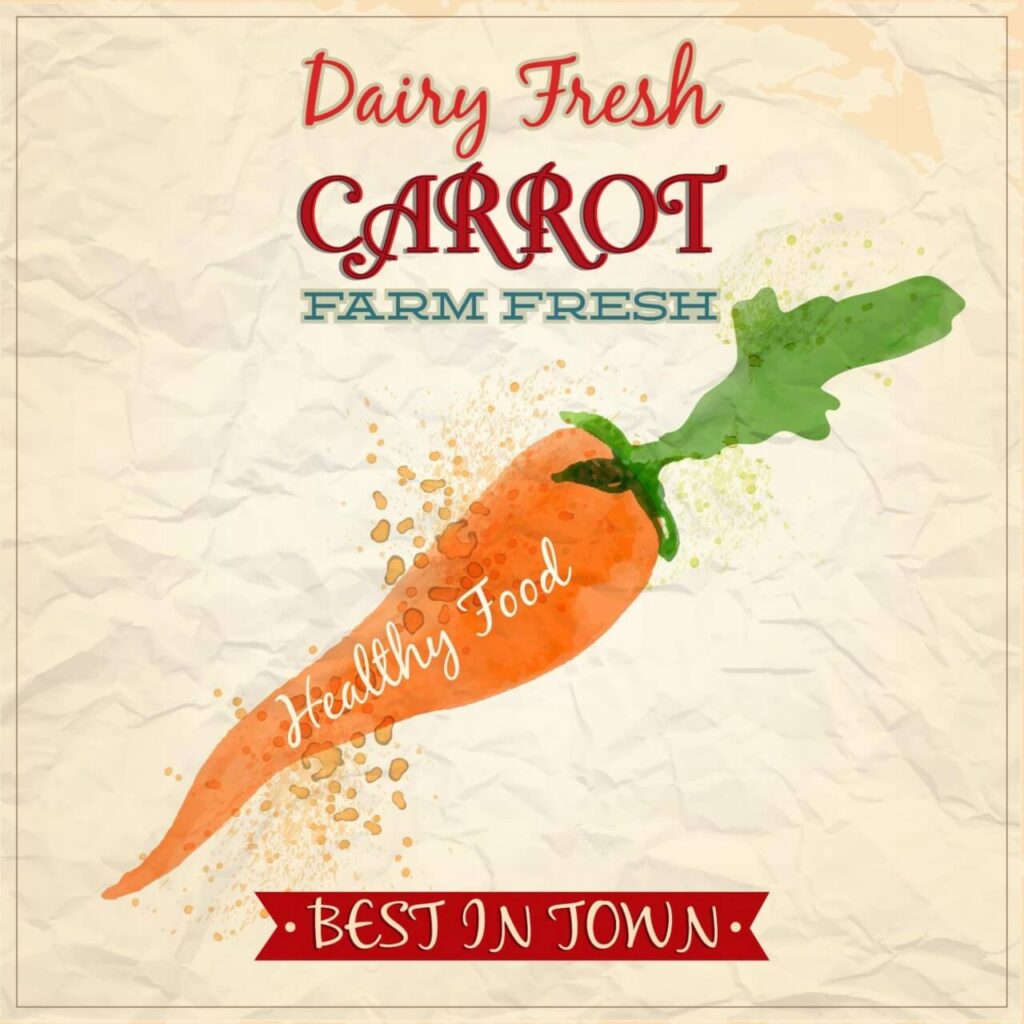
1. Cost-effective: Vector graphics are typically free to use, which makes them an excellent choice for those on a tight budget. You can find numerous websites offering free vector graphics, such as Vecteezy, FreeVector.com, and Flaticon.
2. Scalability: Vector graphics are resolution-independent, meaning they can be resized without losing quality. This makes them perfect for creating banners of various sizes, from small table decorations to large wall hangings.
3. Customization: Free vector graphics offer a wide range of designs, shapes, and fonts that can be easily customized to match the celebrant’s personality and interests. You can also mix and match different elements to create a unique design that stands out.
4. Easy to edit: Vector graphics can be easily edited using graphic design software like Adobe Illustrator, CorelDRAW, or even free alternatives like GIMP and Inkscape. This allows you to make last-minute changes or adjustments to your banner design as needed.
Tips for Creating an Eye-catching Birthday Banner:
1. Choose a theme: Select a theme that reflects the celebrant’s interests or personality. This could be anything from their favorite color to a favorite movie or hobby. A well-defined theme will guide your design choices and create a cohesive look.
2. Keep it simple: While it’s essential to personalize the banner, avoid overloading it with too many elements. A clean and simple design will be more visually appealing and easier to read from a distance.
3. Use contrasting colors: To ensure your banner stands out, use contrasting colors for the text and background. This will make the text more readable and create a visually striking design.
4. Include the celebrant’s name: Incorporate the celebrant’s name into the design, either as part of the text or as an artistic element. This personal touch will make the banner feel more special and tailored to the individual.
5. Add a personal touch: Include photos, drawings, or other personal elements that represent the celebrant’s interests or hobbies. This can help create a more meaningful and memorable banner.
6. Proofread the text: Double-check the text for any spelling or grammatical errors before printing the banner. A well-written message will add a professional touch to your design.
7. Print and assemble: Once you’ve finalized your design, print it on high-quality paper or cardstock. You can then cut out the individual elements, assemble